
Neil
Well-known member
- Joined
- Apr 26, 2004
- Messages
- 3,434
- Reaction score
- 487
I would like to make a print of the picture I posted here.
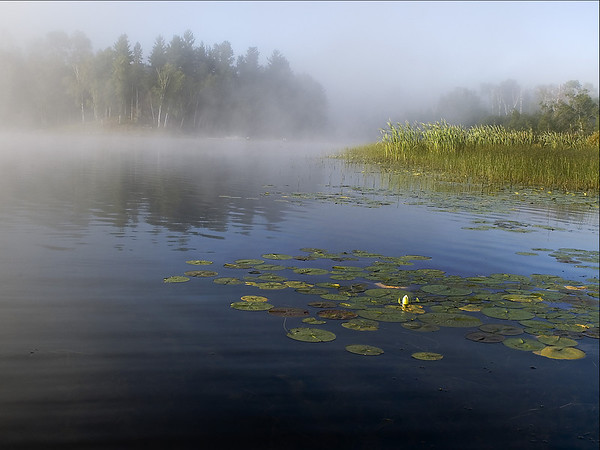
I took it at ISO 800 with a 6 megapixel camera. (The image is 2800 x 2100 pixels) Normally I would have used an ISO of 100 but had set it to 800 when taking pictures at dawn and then forgot to reset it. I like the grainy effect but am wondering how big a print I can get away with.
I took it at ISO 800 with a 6 megapixel camera. (The image is 2800 x 2100 pixels) Normally I would have used an ISO of 100 but had set it to 800 when taking pictures at dawn and then forgot to reset it. I like the grainy effect but am wondering how big a print I can get away with.
") )
)